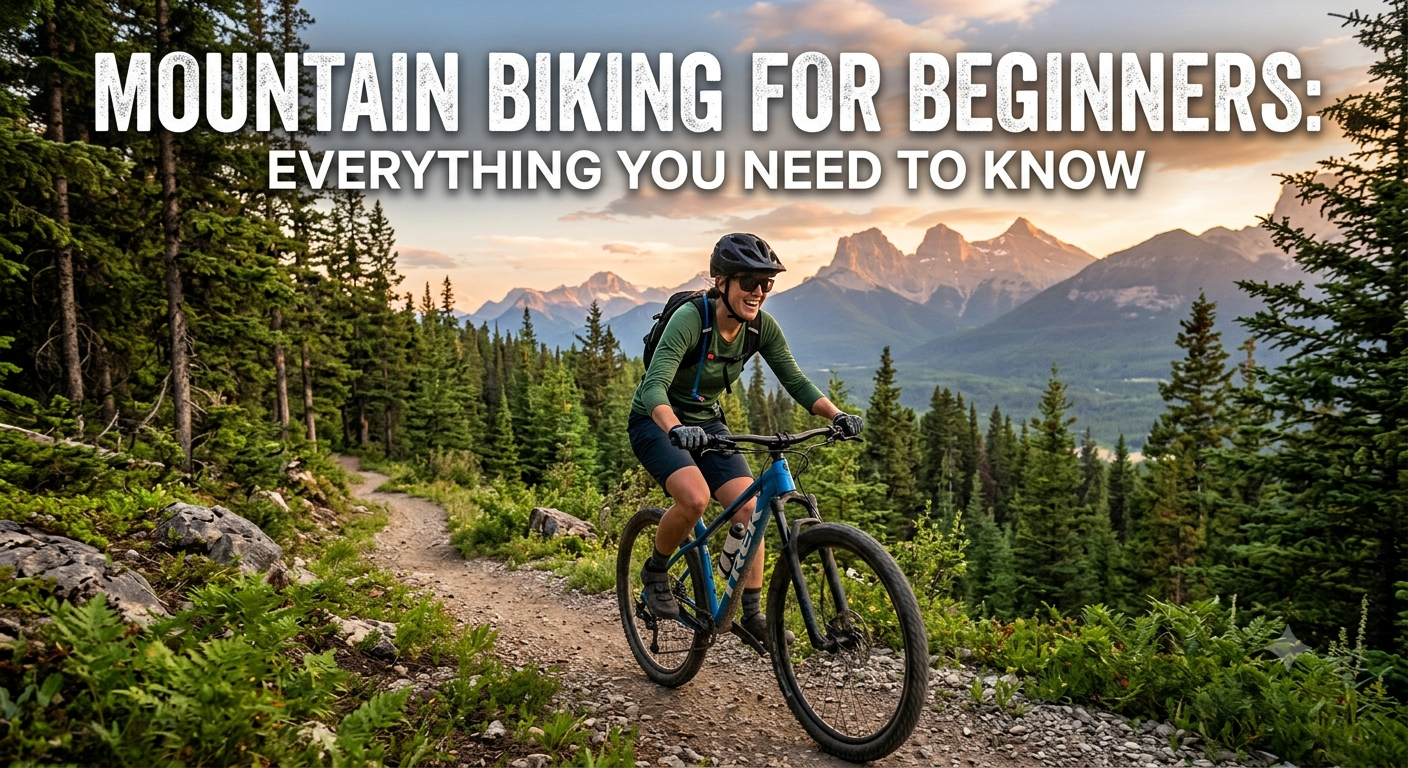
Mountain biking is one of the most exhilarating ways to experience the outdoors. The combination of physical effort, technical skill, speed through trees, and the constantly changing demands of trail terrain creates a form of engagement that is difficult to match in any other discipline. It is also a sport with a meaningful learning curve — one that rewards patience, progressive skill development, and an honest approach to your current ability level.
This guide gives you everything you need to start mountain biking with confidence: how to choose the right bike for your riding, the essential gear that genuinely protects you, the fundamental skills that separate beginners from intermediate riders, how trail systems are rated and what those ratings mean in practice, trail etiquette and culture, how to build riding fitness, and a clear progression framework for the first six months. Whether you have never touched a mountain bike or are returning after a long break, this is the foundation that makes everything else easier.
Choosing the Right Mountain Bike
The mountain bike market is genuinely confusing, and bad advice from enthusiastic shop employees who ride expert terrain can steer a beginner toward completely inappropriate equipment. Understanding the basic categories gives you a framework for making a smart first purchase.
Hardtail vs. Full Suspension
A hardtail has suspension only in the front fork. A full-suspension bike (often called a "full sus" or "FS") has suspension both front and rear. For beginners, a quality hardtail is almost always the better starting point for several reasons: hardtails cost significantly less than equivalent-quality full suspension bikes, they are lighter, they require less maintenance, and — crucially — they develop your technique faster because they do not absorb your mistakes. A hardtail on a trail you lack the skill to ride smoothly will feel rough and demanding. A full suspension bike on the same trail will feel smoother, masking the technique deficiencies that you need to identify and correct to progress as a rider.
Once you have ridden consistently for 6 to 12 months and understand what terrain challenges you most, investing in full suspension makes sense. At that point you will know exactly what kind of riding you want to do and can match the suspension design to that purpose.
Wheel Size: 26", 27.5", and 29"
Modern mountain bikes use one of three wheel sizes. The 26-inch wheel has largely disappeared from new bikes. The 27.5-inch (also called 650b) is the middle ground, offering a balance of maneuverability and rollover ability. The 29-inch wheel has become the dominant size for trail, cross-country, and enduro riding because of its superior ability to roll over obstacles — the larger diameter contacts the top of a rock or root at a shallower angle, making it easier to maintain momentum. For most beginners on trail terrain, a 29-inch wheel hardtail is the most forgiving and confidence-inspiring choice.
Frame Material
Mountain bike frames come in aluminum, carbon fiber, and steel. For a first bike, quality aluminum is the ideal — it is durable, reasonably light, absorbs some vibration, and available in excellent quality at accessible price points. Carbon fiber frames are lighter and stiffer but significantly more expensive and less forgiving of crashes. Steel frames are heavy but nearly indestructible — a legitimate option for bikepacking and long-distance off-road travel, but not the typical choice for trail riding.
Budget Guidance
This is the most important and most awkward conversation in mountain biking retail. Bikes under $500 from department stores and big-box retailers are uniformly poor quality — the components are heavy, unreliable, and potentially unsafe on anything but paved surfaces. Entry-level quality begins at approximately $800 to $1,000 for a new aluminum hardtail from a reputable brand with Shimano or SRAM components. A $1,200 to $1,500 hardtail from Trek, Specialized, Giant, Cannondale, or a comparable brand will serve a beginner and intermediate rider excellently for years. Buying a well-maintained used bike from a local shop or rider is an excellent way to get better quality for your budget.
Essential Gear
Helmet — Non-Negotiable
A properly fitting helmet is the single most important piece of gear in mountain biking, and it is not optional under any interpretation. For beginners on trail terrain, a standard mountain bike helmet with a visor (different from a road helmet in that it sits lower at the back and sides to protect the areas most vulnerable in a mountain bike fall) provides adequate protection. For more technical terrain, aggressive descending, or bike parks, a full-face helmet protects the jaw and face — the most common injury sites in high-speed or steep terrain crashes.
Fit is everything: the helmet should sit level on your head with the front edge approximately one to two finger-widths above your eyebrows, the chinstrap should allow only two fingers between strap and chin when tightened, and there should be no forward-backward or side-to-side movement when you shake your head. Helmets must be replaced after any significant impact, even if they appear undamaged — the foam interior that provides protection is compromised by impact and cannot be visually assessed.
Gloves
Mountain bike gloves protect your palms in falls (the instinctive reaction is to put your hands out, and without gloves the damage to your palms on dirt and gravel is significant), improve grip on the handlebars, and reduce vibration fatigue on long rides. Full-finger gloves provide the most protection. Padded palms are worth having. Any quality mountain bike-specific glove from Fox, Troy Lee Designs, Giro, or similar brands is appropriate.
Eye Protection
Trail debris, dust, insects, and low branches make eye protection essential on mountain bikes. Clear lenses for low-light and shaded trails, tinted lenses for bright open terrain. Cycling-specific glasses with wraparound coverage and UV protection are the standard. Sunglasses not designed for cycling often do not stay in place and lack the coverage needed.
Knee and Shin Pads
For beginners on moderate terrain, light-duty knee pads add meaningful protection during the inevitable low-speed tip-overs and pedal strikes that are part of learning. As you progress to more technical terrain, knee pads become increasingly important. Dedicated trail knee pads from POC, Leatt, or 661 offer excellent protection with comfortable enough fit to forget you are wearing them. Shin guards protect against pedal strikes — one of the most painful and common beginner injuries.
Flat Pedals vs. Clipless
Begin on flat (platform) pedals. Despite the counterintuitive name, "clipless" pedals are the type that clip your shoe to the pedal using a cleat system — they require a specific learning curve to use safely. Flat pedals allow you to put a foot down instantly at any moment, which is essential while you are still learning technique and balance. Once you can consistently ride technical features without needing to bail out, clipless pedals become worth learning for their efficiency advantages.
Fundamental Riding Skills
Body Position: The Foundation of Everything
Correct body position on a mountain bike is the foundation that every other skill is built on. When riding in a neutral position on trail terrain: stand slightly off the saddle with soft, bent knees and elbows; weight centered between front and rear wheel; heels dropped slightly below the level of the toes (this lowers your center of gravity and provides a brace against forward throws); head up and looking ahead rather than directly at the front wheel; core engaged but shoulders relaxed.
The single most common beginner error is sitting on the saddle and pedaling through technical terrain as if it were a road. Standing slightly and bending your knees and elbows transforms your body into a dynamic shock-absorbing system that responds to terrain naturally. Practice this position on easy trail sections until it becomes automatic before attempting more technical features.
Braking
Mountain bike braking technique is fundamentally different from road cycling. The front brake provides approximately 70 percent of your stopping power (physics — weight transfers forward under braking, loading the front wheel). Many beginners instinctively avoid the front brake from fear of going over the handlebars; this fear is overblown in most circumstances and results in dramatically reduced stopping ability. Practice applying both brakes progressively rather than grabbing suddenly, which causes skidding and loss of control. Brake before technical sections rather than during them — entering a technical feature under control is far safer than trying to adjust speed in the middle of it.
Looking Ahead
Where your eyes go, your bike follows. This is one of the most studied phenomena in motorsport and it applies directly to mountain biking. Looking at an obstacle — a rock, a root, a tree — dramatically increases the probability that you will hit it. Looking past the obstacle to where you want to go increases the probability that you will ride a clean line around it. Train yourself to look ahead consistently. On smooth trail, look 20 to 30 feet ahead. On technical terrain, reduce this to 10 to 15 feet — but always ahead of your current position, never directly in front of your wheel.
Cornering
Mountain bike cornering technique: look through the exit of the corner well before you reach it, brake before entering rather than in the corner, outside pedal down (if turning left, right pedal is at the bottom — this keeps the inside pedal from striking the ground), lean the bike while keeping your body more upright than the bike, and weight the outside pedal to maintain traction. Smooth progressive pedal pressure coming out of the corner rather than sudden power application. Most beginners enter corners too fast, brake mid-corner (which causes the front wheel to push or the rear to wash out), and look at the corner rather than through it.
Climbing
Seated climbing is more efficient than standing for sustained ascents — stay seated, shift to an easy gear before the gradient increases rather than trying to shift mid-climb, keep your weight slightly forward to maintain front wheel traction on steep pitches, and maintain smooth pedal stroke cadence rather than grinding in too large a gear. On loose or steep climbs, sliding forward on the saddle to weight the front wheel prevents it from lifting while keeping your weight in a position that maintains rear wheel traction. Short steep punchy climbs often require standing and driving power through the pedals while keeping the front wheel weighted.
Descending
Descending is where most beginners feel least confident and where building skill has the highest return. Drop your saddle before any significant descent — most modern mountain bikes have a dropper post that allows you to lower the saddle remotely while riding. A high saddle forces you into a seat-bound position that limits your ability to move dynamically with the terrain. With the saddle dropped, move your weight back (more posterior to the saddle), keep your elbows and knees bent as shock absorbers, look well ahead, and trust the bike's ability to roll over obstacles that you see coming.
Understanding Trail Ratings
Mountain bike trails use a rating system similar to ski runs, but the interpretation requires some local knowledge because trail builders apply ratings differently across different regions and trail systems.
Green (Easy): Smooth, wide, well-graded trail with minimal obstacles. Appropriate for complete beginners on their first few rides. May include gentle grades and wide-radius turns. Features are avoidable.
Blue (Intermediate): More technical trail with moderate obstacles — roots, rocks, steeper grades, tighter corners. Requires basic bike handling skills. This is where most riders spend the majority of their time and where beginners should aim to progress after their first month of riding.
Black (Difficult): Significant technical challenge. Steep grades, large rock features, drop-offs, tight technical sections. Requires confident bike handling and commitment. Not appropriate for beginners until they have thoroughly mastered blue-rated terrain.
Double Black (Expert): Extreme terrain for highly skilled riders. Large jumps, significant drop-offs, very steep and technical descents. Only appropriate after years of progressive skill development.
A critical caveat: trail ratings are inconsistent across regions. A blue trail in a beginner-friendly bike park may be equivalent in difficulty to a green trail in Whistler or Moab. Research trail systems specifically before visiting, look at photos and videos of the trails you plan to ride, and when in doubt start with easier-rated trails to calibrate the local rating system before committing to harder terrain.
Trail Etiquette
Yield the trail correctly. Mountain bikers yield to all hikers and horses on shared-use trails. This is not a suggestion — it is the standard that keeps shared-use trails open to bikes. When approaching hikers, announce yourself early ("on your left" or "bike approaching"), slow to a walking pace, give plenty of space, and thank them. Failure to do this has contributed to trail closures in numerous areas across the country.
Uphill riders have right of way. On narrow singletrack, bikers coming uphill have the right of way over those descending — climbing loses momentum if you stop, descending can always be restarted. In practice, many climbers will wave descenders past; follow their lead. On blind corners, slow down and be prepared to stop for riders coming the other way.
Ride when conditions are right. Riding soft, wet trails causes damage that takes months to repair: ruts, braid lines, and compacted soil that impedes drainage. The rule: if your tires are leaving marks deeper than about an inch in the soil, the trail is too wet to ride. Trails signed as closed after rain should be taken seriously — trail crews volunteer significant time to maintain these systems.
Pack out all waste. Mountain biking generates trail trash: gel wrappers, tire tubes, water bottles. Pack out everything you bring in, and consider packing out any trail debris you find even if it is not yours.
Building Riding Fitness
Mountain biking demands a different kind of fitness than road cycling or running. It is primarily an upper-body-intensive activity that road cyclists often underestimate — gripping handlebars for hours, absorbing trail vibration through your arms and core, and making constant micro-adjustments through your hands creates significant fatigue in muscles that most athletes have not trained specifically.
Strength training priorities for mountain bikers: grip strength (dead hangs, farmer carries), shoulder stability and rotator cuff strength, core stability (planks, dead bugs, Pallof presses), hip hinge strength (Romanian deadlifts, single-leg deadlifts), and quad and glute strength for climbing (squats, Bulgarian split squats). Two to three strength sessions per week in the off-season and one maintenance session per week during riding season makes a measurable difference in riding performance and injury resilience.
On-bike fitness is built through time on the trail. Aim to ride at least twice a week to make meaningful progress in the first season. One longer endurance ride on weekends, one shorter more technical ride during the week is a sustainable structure. Heart rate or power-based training is less relevant in mountain biking's early stages than simply accumulating hours on varied terrain.
A Six-Month Progression Framework
Month 1: All riding on green-rated trails. Focus exclusively on body position, looking ahead, and smooth braking. Ride for 60 to 90 minutes per session. Do not attempt features that feel genuinely scary — ride at the edge of your comfort zone, not past it.
Months 2–3: Begin exploring easy blue-rated trails. Practice cornering technique deliberately. Introduce very small drops (6 to 12 inches) on a consistent basis to develop commitment and technique for larger features later. Ride with more experienced friends who can offer specific technique feedback.
Months 4–5: Consolidate blue terrain. Begin attempting moderate blue features with confidence. Work specifically on descending — drop your saddle on every descent and practice the attack position. Seek out a guided skills clinic if one is available; a few hours with a qualified coach compresses months of solo self-teaching.
Month 6: Assess which terrain challenges you most and focus development there. Some riders develop climbing ability and fitness quickly but struggle with technical descending; others are natural descenders who need to build climbing power. Identify your limiter and work on it specifically rather than repeatedly riding what you already do well.
Mountain biking's learning curve is real, but the payoff is extraordinary. The combination of physical fitness, technical problem-solving, and the sensation of riding singletrack through a beautiful landscape at speed creates an experience that keeps people in the sport for life. Start on appropriate terrain, build skills progressively, ride with people who are slightly better than you, and be patient with yourself through the inevitable early crashes and frustrations. The sport rewards exactly that approach.
Common Beginner Mistakes and How to Avoid Them
Understanding the most common beginner mistakes accelerates the learning curve significantly and prevents some of the injuries and bad habits that take months to unlearn.
Riding with too much air pressure in your tires. Many beginners inflate tires to the maximum pressure printed on the sidewall, which is designed for road use. Mountain biking requires significantly lower pressure — typically 22 to 30 PSI for most riders and most trail conditions — to allow the tire to conform to terrain, maximise traction, and absorb trail chatter. Purchase a quality floor pump with a gauge and experiment with pressure until the tire feels planted rather than bouncy on your typical terrain.
Not adjusting saddle height for terrain. A saddle set at the correct height for climbing (slightly lower than road cycling height, with a nearly straight leg at the bottom of the pedal stroke) is far too high for descending. The seat needs to drop significantly on downhills — ideally 2 to 4 inches — to allow your body to move freely and lower your center of gravity. A dropper post automates this; without one, get off the bike and manually lower the seat before any significant descent.
Pulling up on the handlebars on technical features. The instinct when approaching a bump or drop is to pull up on the handlebars. This is almost always counterproductive — it unweights the front wheel exactly when you need it tracking the ground, and it puts your weight in a position where any slight variation from the ideal launch angle sends you over the bars. The correct technique is to keep your arms soft and let the front wheel follow the terrain while your body absorbs the movement. This takes deliberate practice to override the instinctive pull-up response.